¶ Integration Note
| Manufacturer | Garage Pro |
| Model |
TailWind, Shelly 1, Red Box, Red Box Deux Redbox Fury IV using Native ESPHOME or Magic Cube |
| Driver Name | GaragePro |
| Driver Version | 25.10.20.00 |
| Document / Driver Revision | Oct 20, 2025 |
| Core Min / Max Tested | 8.8.xx |
¶ Overview
¶ Supported Features
This driver can install TailWind, Innovo's Red Box and Red Box Deux, Ratgdo using MQTT with the Magic Cube or Ratgdo using Native ESPHOME, Redbox Fury IV using Native ESPHOME or Magic Cube to control the garage.
The driver installs an Input and Output components.
Input is for sensor
Output is for trigger control
¶ Special Warning for RATGDO Devices
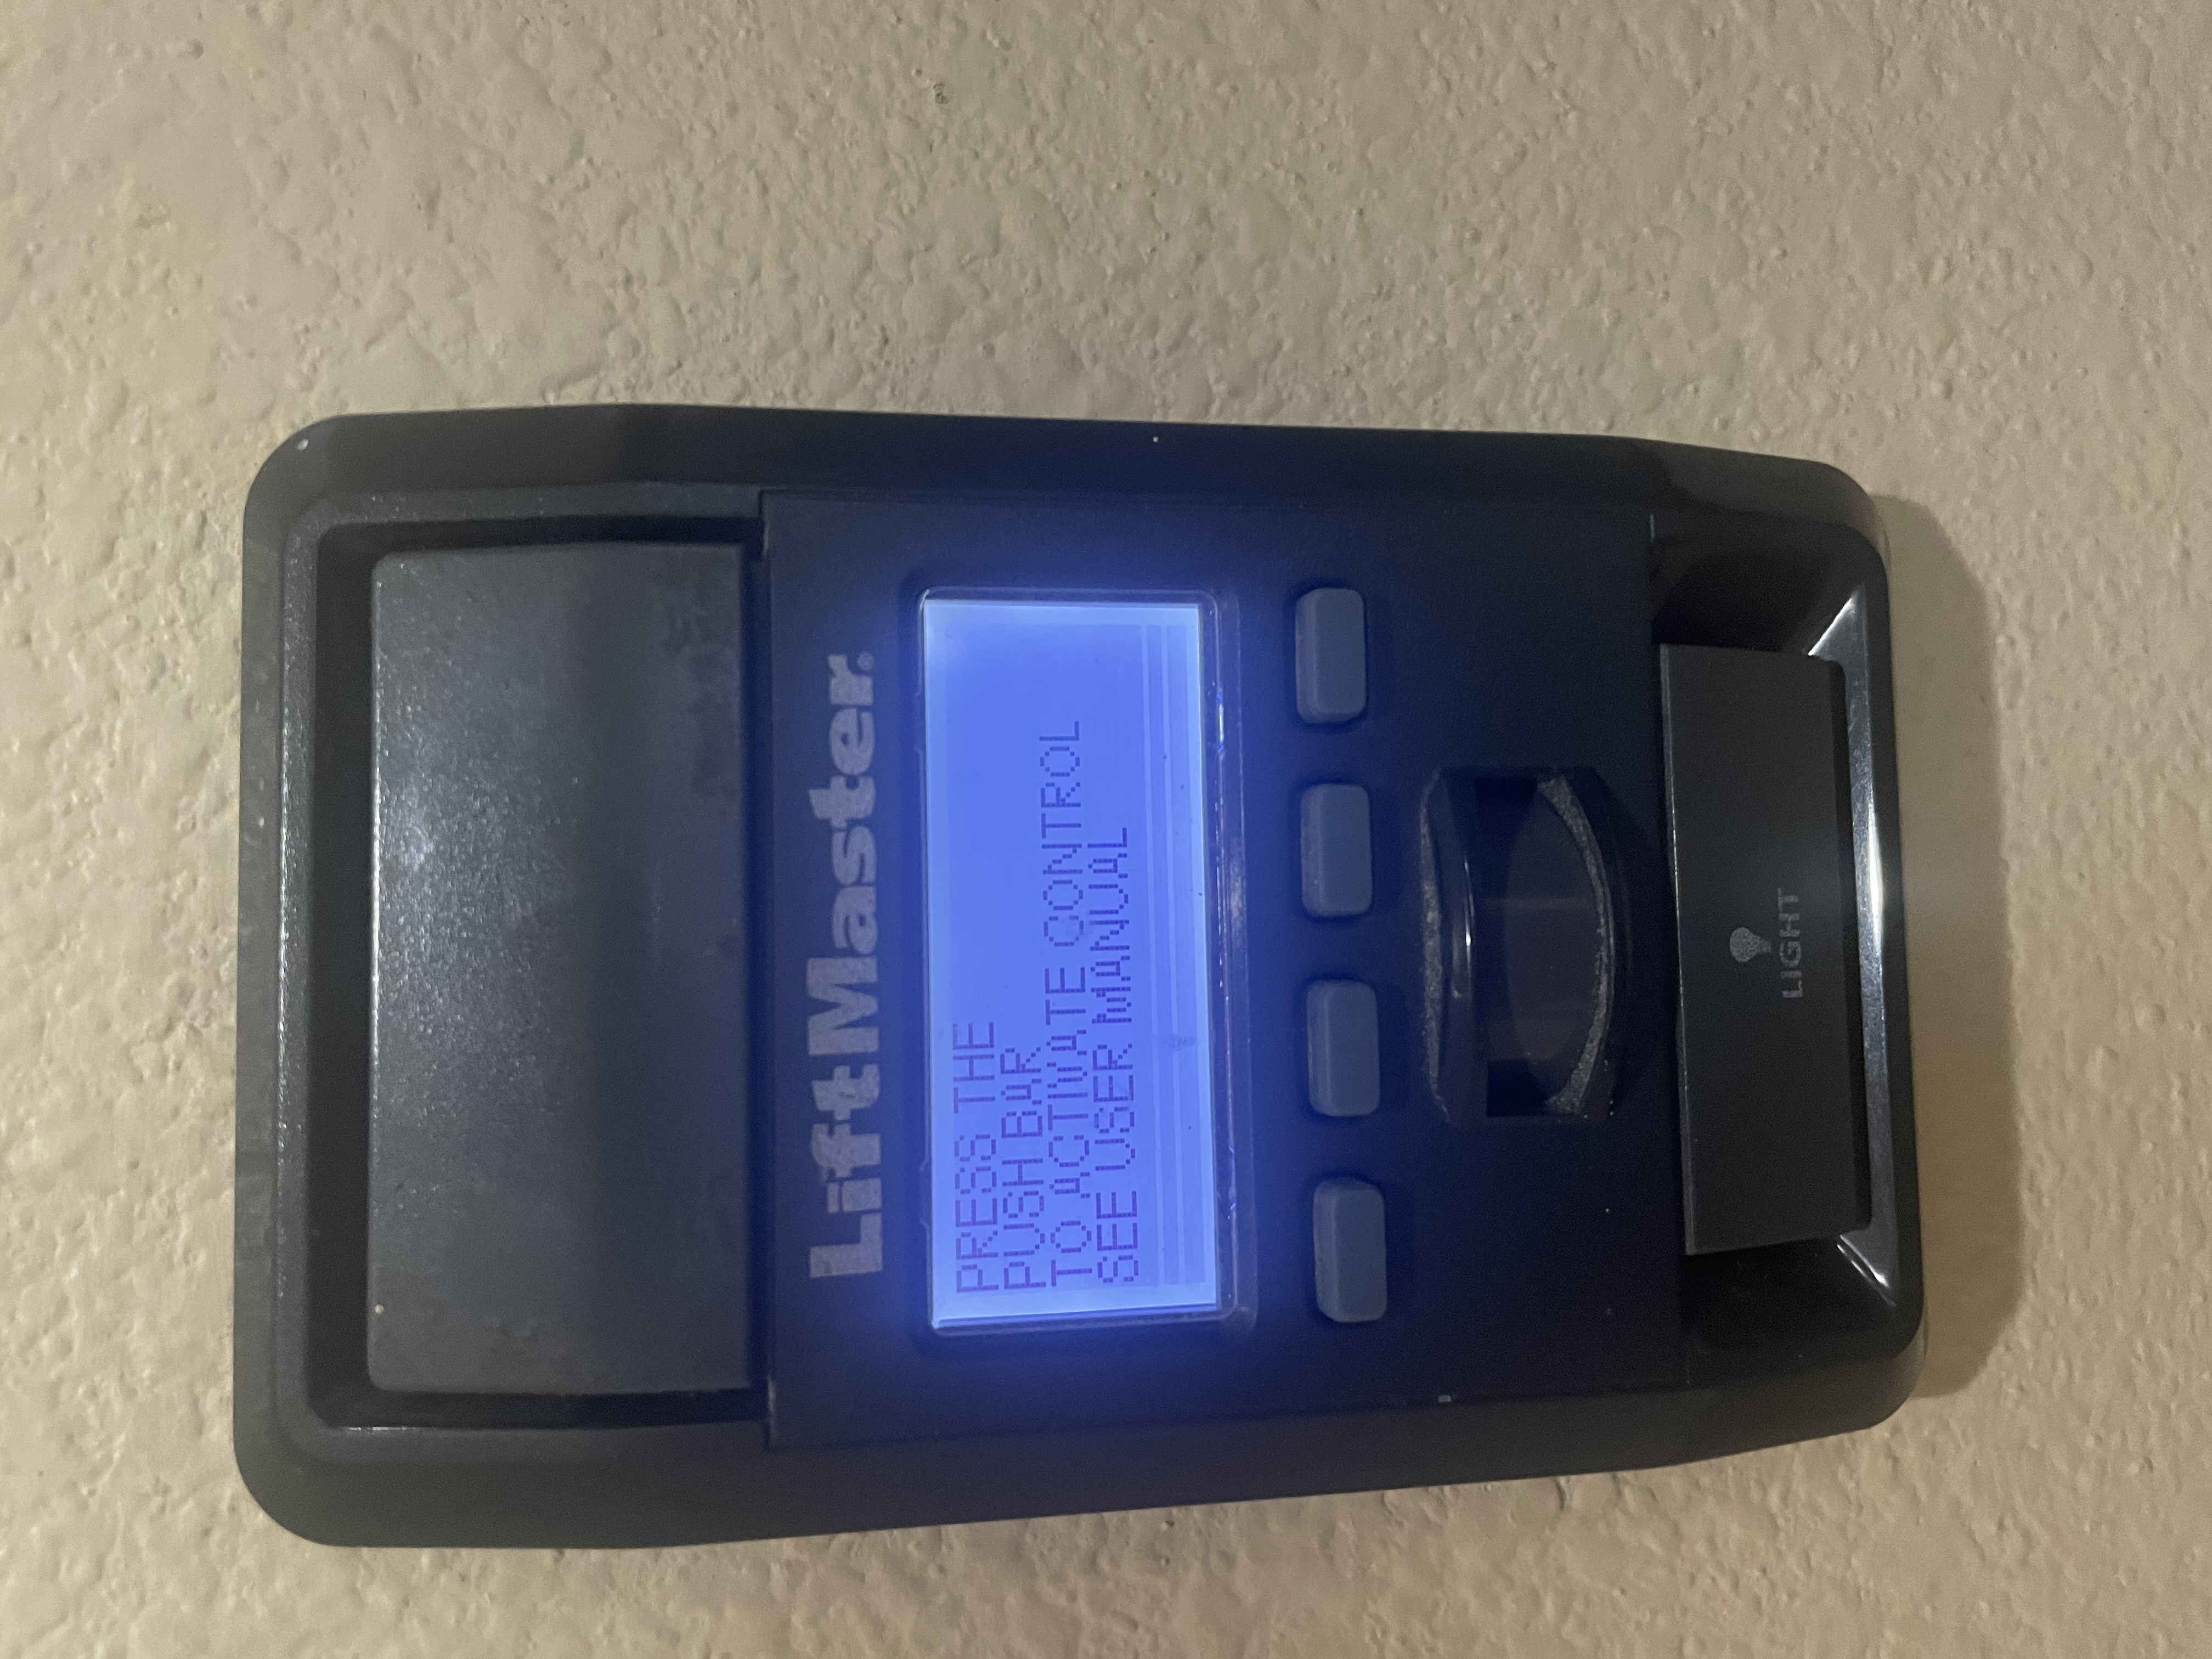
While we love the RATGDO device and recommend it for most jobs, we DO NOT Recommend using it where the client has a MyQ Wall controller that has an LCD panel or motion sensors. The RatGDO will cause the wall controller to reset in 1 out of 4 cases. The wall controller will come back on when physically activated, but until it has been physically triggered, the device and its functions will be offline. This is a known issue with RATGDO and there is currently no fix.
The RatGDO itself will continue to work and trigger from Nice. If your customer doesn't care about these features or you can replace the wall trigger with a simple dumb open / close trigger, by all means use the RATGDO.
INNOVO is not responsible for any issues that arise out of this known issue.
The issue is highlighted here.

¶ RED BOX DEUX
For the Red Box Deux, please see this guide
https://wiki.innovo.net/en/RedBoxDeux
¶ Device Configuration
¶ Shelly Setup
Wire the Shelly Plus 1 as follows. If you garage door uses contact sensor you can connect the I/O directly to the garage door opener instead of a remote.
¶ DIY Instructions
You can make this yourself. Parts list
- Shelly 1 Plus https://innovo.net/product/shelly-plus-1/
- Garage Door Reed Switch (Any will do, search Amazon)
- Chamberlain Remote (Any will do) This is the one we tested with: https://www.amazon.com/gp/product/B098SP6RJ9?th=1
- 12VDC Power Supply (UL Listed) https://www.amazon.com/R-Tech-UL-Listed-Switching-Supply-Adapter/dp/B00FEOB4EI/?th=1
- 3D Case – Printed Shelly 1L (Plus 1/2.5) box and lid for wiring by pjvenda | Download free STL model | Printables.com
follow this video to setup and wire the Shelly device to for garage control for reference only
https://www.youtube.com/watch?v=WEZUxXNiERQ
https://www.youtube.com/watch?v=nSrm6h7r-KE (Don’t flash the Shelly Relay, this is just for wiring reference)
¶ Setup Shelly Device
Setup the Shelly Device using the following settings in the Shelly App:
- Under Timers, Check Auto Off after 1 second. This will make the switch act like a momentary trigger.
- Under Settings, make it switch and Detached.
- Under Network and Internet: Enable RPC over UPD to 224.0.1.187:5683
- Unser Settings, Set Device Name
¶ Tailwind Setup
- Minimum Tailwind Firmware Required is 10.10. Update device using the Tailwind app.
- Setup tailwind using the manufacturer’s notes.
- Get your Token from gotailwind.com.
- Add the Token in the driver
The TOKEN is a 6-digit string(local control key) generated via the Tailwind server
Steps to find and update Local Control Key:
- Login on Tailwind Web dashboard (web.gotailwind.com)
- Find the Local Control Key page and get the code.
¶ Setup RatGDO Device
To Setup Ratgdo, follow the instructions on this website.
If you're using RatGDO with the Magic Cube, use RatGDO with MQTT option.
If you're using RatGDO directly with Nice without the Magic Cube, use RatGDO ESPHome option
¶ Driver Configuration
Download the Driver Here (You Must be logged in to download)
- Under Input / Output install the driver as a Comm device. Choose the device.
For Innovo's Red Box, Choose “Shelly One Plus” from the drop down menu.
Note: Make Sure to set the Ip address to "0" before installing.
If you're using RatGDO with the Magic Cube, use RatGDO with MQTT option.
If you're using RatGDO directly with Nice without the Magic Cube, use RatGDO ESPHome option
- Add the driver to security as Trigger I/O Toggle or Lighting Switch and connect the input sensor to the input and output sensor to the output trigger.
For Tailwind, make sure to set the token in both the Input and Output driver
¶ Using The Driver
¶ Custom Page
You can create a custom page to show more details about each door.
Tailwind has several statuses that can be show including with the door is disabled by the user (this is a setting in the app) or the door becomes Locked Out due to a door error.
If the door goes into Lock Out state the device must be rebooted to continue to operate. Add an output trigger button so the user can also reboot the Tailwind device to remove the door from Lock Out state.
¶ Changelog
¶ Version 25.09.17.00
- Bug fixes and stability improvements in the Ratgdo Trigger and Ratgdo Sensor.
¶ Version 25.08.26.00
- Added: Tailwind ID dropdown list in the Tailwind Sensor driver.
Each Tailwind device with a different IP address can now be assigned a unique Tailwind ID from the dropdown.